I saw these beautiful beads made from recycled newspaper and decided to try and make them. They reminded me of the lovely paper beads that Katie teaches Ugandan ladies to make and sell for sustainable living. I haven’t done anything creative in awhile and my daughter and I were itching to get our hands dirty.
This is a messy project that takes place over a couple of days, but I thought it was surprisingly easy, fun and creative.
Step 1: Shred newspaper and put it in a large stock pot.
Step 2: Cover the paper with boiling water and let it sit for one hour.
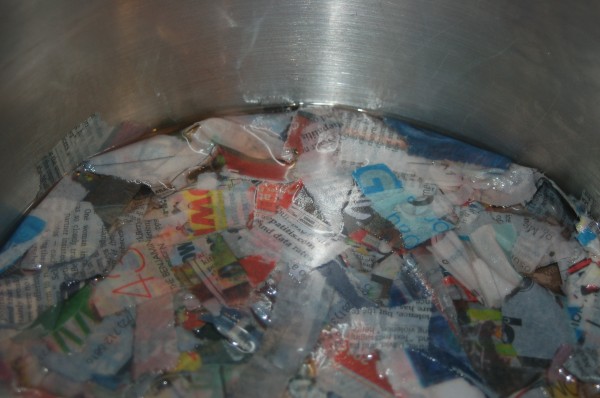
Step 3: Drain off extra water and stir with spatula to help aid the process of breaking up the paper.
Step 4: Stir in white Elmer’s glue (enough that pieces pulled off stick together).
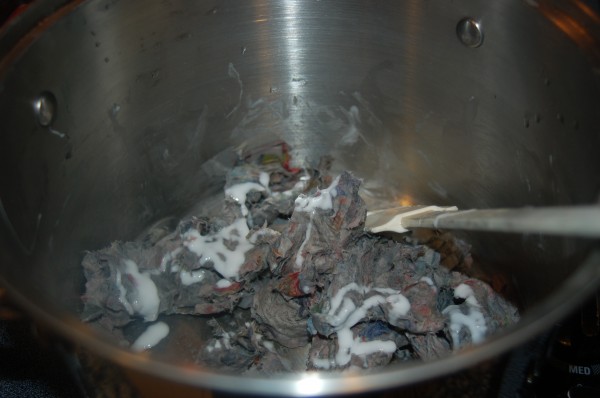
Step 5: Pull off small pieces (however big you want the beads to be) and roll them in the palm of your hand to form a ball. Squeeze out any excess water. Set on a cookie sheet to dry (for at least a day and a half or until hard).
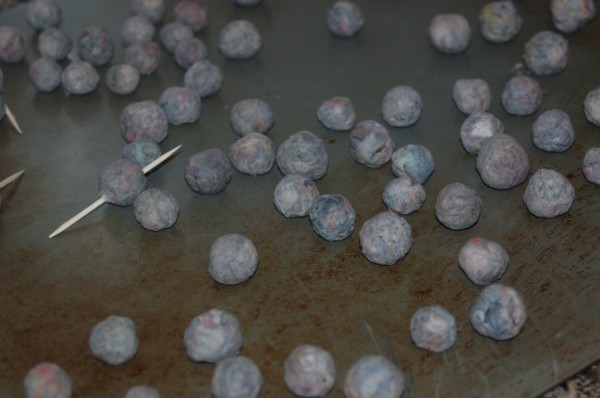
Step 6: The balls need holes to make them beads. There are two ways to do this. You can poke a toothpick thru them while they are wet. I didn’t like this way very much. I chose to wait until they were dry and drill a small hole thru each ball.
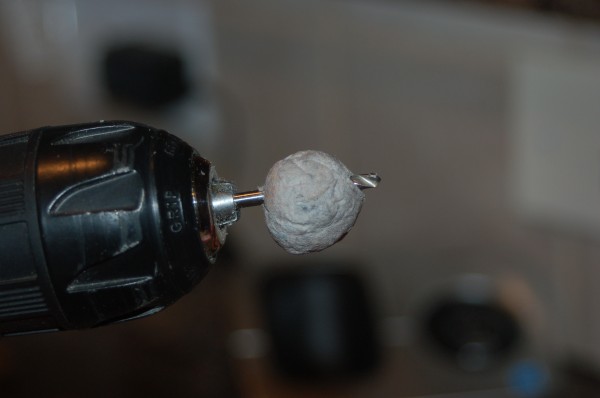
Step 7: I used finger nail clippers to trim away the edges created around the drilled hole. You can sand the beads to make them smoother, but I didn’t.
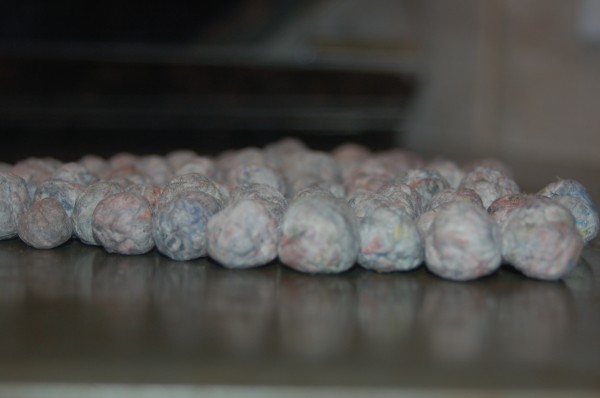
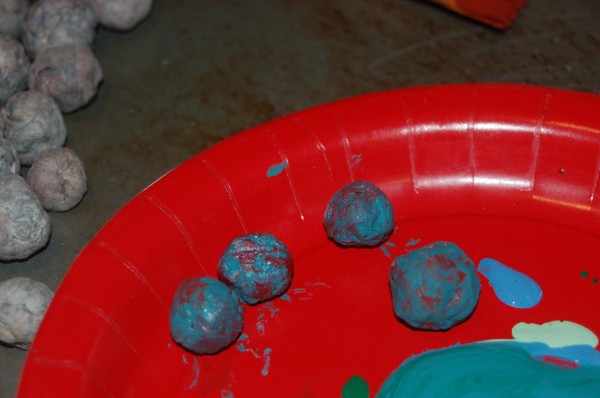
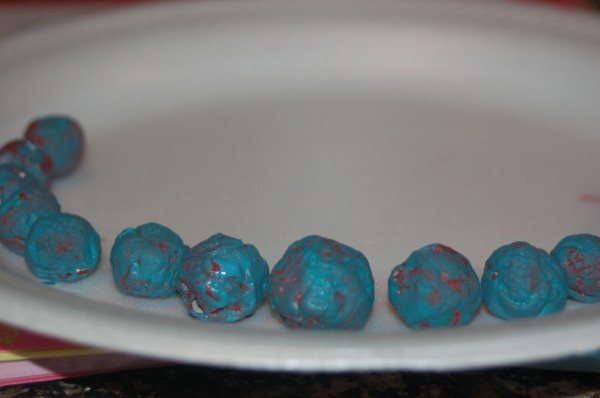
Step 8: Paint your beads. I love the way these beads turned out with marble-effect. But I couldn’t quite master it. I tried a lot of different colors, using a sponge brush.
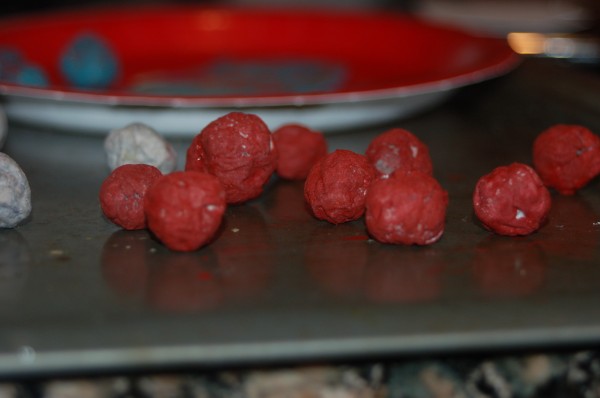
Step 9: Once your beads are dry, (you may have to poke a safety pin thru to unclog the hole) they are ready to be strung. I used an old ball chain necklace I had for one and heaving fishing line for another.
Step 10: Once the beads are strung, hold one end and dip the entire strand in a can of clear varnish. This final step seals the paper-mache like beads and gives them the pretty shiny-look. I used heavy duct tape to hold the strand on my kitchen cabinet and let a paper plate catch the excess varnish.
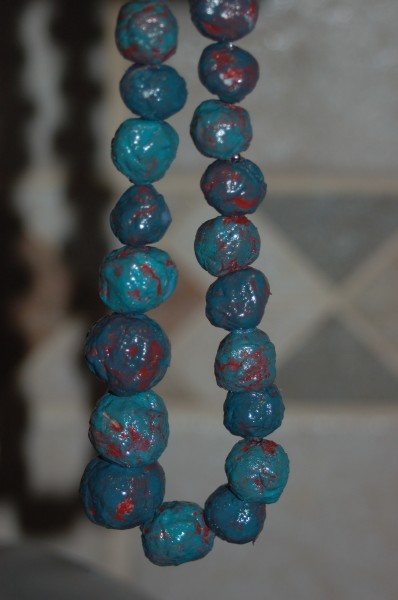
Once they dry, they are ready to wear!
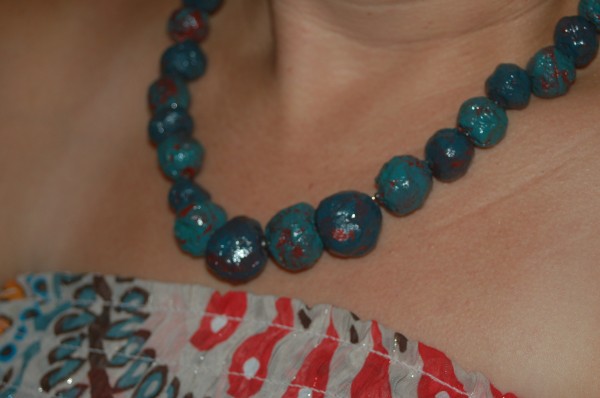

Pretty! Thanks for the tutorial. They look fun to make. I love messy!
Thank you for the wonderful tutorial. I’ve been wanting to try this craft. Our group makes recycle paper bead jewelry for a fundraising activity for the Jenny Lin Foundation. Anyway, wondering if using fingernail polish would work as well as varnish? This is what we used on other paper beads.
How incredibly awesome!!!!
I think I’m going to go to the thrift store to see if I can get a pan to do this sort of thing in. With my luck I’d ruin one of the few good ones I have!
One question…do you put the paper in the pot and then the boiling water on top?
Thanks so much for sharing this wonderful idea!
Step one in Kristen’s tutorial was to put the newspaper in the pot. Step two was to cover with boiling water. If you put the water in first, you may not get the right amount of newspaper. The way she has it, it would give you more control over the water/newspaper ratio.
Put the paper in first and just cover it w/boiling water and let it sit for an hour. Hope you have fun making them!
GREAT beads. I sent the site to a friend who is involved with an orphanage in Liberia.
That is so cool!
So cool!!! May have to try!
They look so great with your outfit!
wow!! Beautiful! Thanks for sharing!
these are so so cute! i’ve got high hopes of working with some african mama’s to do something similar and send them back with my mom when she comes to visit us at Christmas (Lord willing!?) to do a little fund raising. i’m bookmarking this page now. maybe we’ll try it. i’ll let ya know how/if it goes.
Wow… how cool. It does seem a lot like the necklaces the women in Uganda make. Thanks for sharing! This would be a cool project for our youth group.
super cute!
Those are seriously awesome! I might have to try this, just for the challenge. I am not a crafter, but that is one cool necklace and how awesome to be able to say “I made these from recycled newspaper!”
neat, neat, thanks for the instructions
Oh, thank you! I am going to pass this on to my teenage daughter who is an AVID recycler!
I really appreciate this post – so helpful.
Bless you~
that is really beautiful – can’t wait to try it! I also just read your other post “When Jesus isn’t enough” – wow, well said.
What kind of varnish did you use? The kind I used must have been too thick b/c it started to harden before all the drips fell off, and it also made all the beads stick together. It was a mess!
THIS IS AWESOME AMAZING I AM DEFINATLY
GOING TO TRY THIS