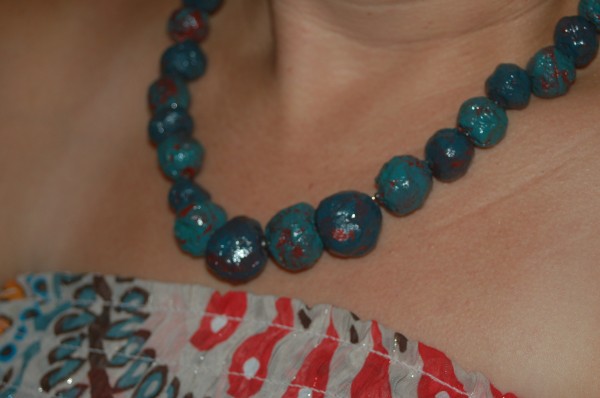
I saw these beautiful beads made from recycled newspaper and decided to try and make them. They reminded me of the lovely paper beads that Katie teaches Ugandan ladies to make and sell for sustainable living. I haven’t done anything creative in awhile and my daughter and I were itching to get our hands dirty.
This is a messy project that takes place over a couple of days, but I thought it was surprisingly easy, fun and creative.
Step 1: Shred newspaper and put it in a large stock pot.
Step 2: Cover the paper with boiling water and let it sit for one hour.
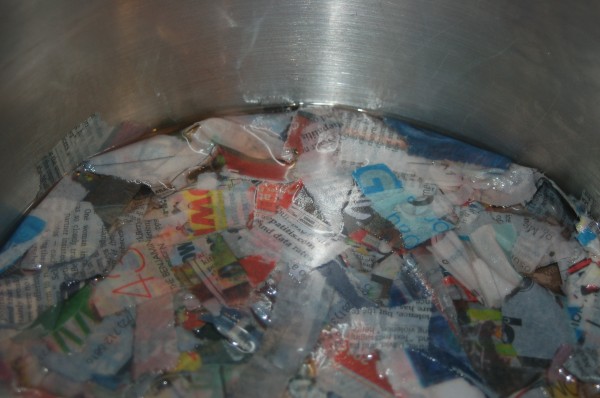
Step 3: Drain off extra water and stir with spatula to help aid the process of breaking up the paper.
Step 4: Stir in white Elmer’s glue (enough that pieces pulled off stick together).
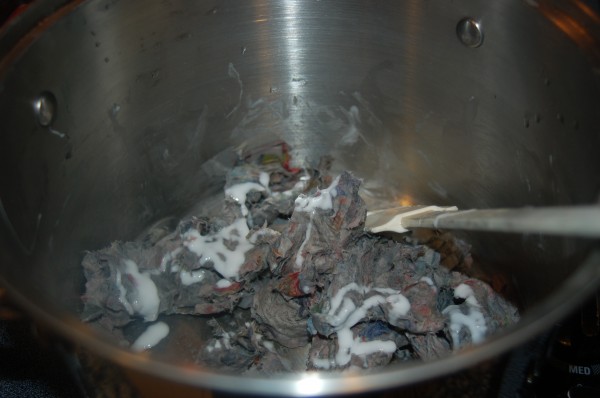
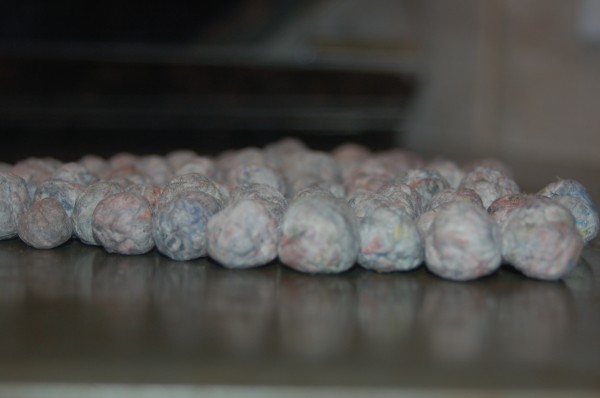
Step 5: Pull off small pieces (however big you want the beads to be) and roll them in the palm of your hand to form a ball. Squeeze out any excess water. Set on a cookie sheet to dry (for at least a day and a half or until hard).
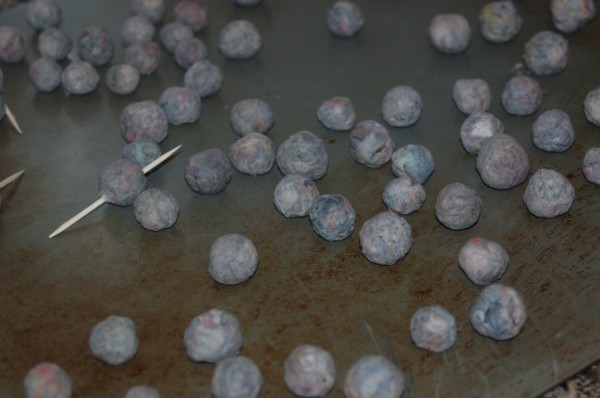
Step 6: The balls need holes to make them beads. There are two ways to do this. You can poke a toothpick thru them while they are wet. I didn’t like this way very much. I chose to wait until they were dry and drill a small hole thru each ball.
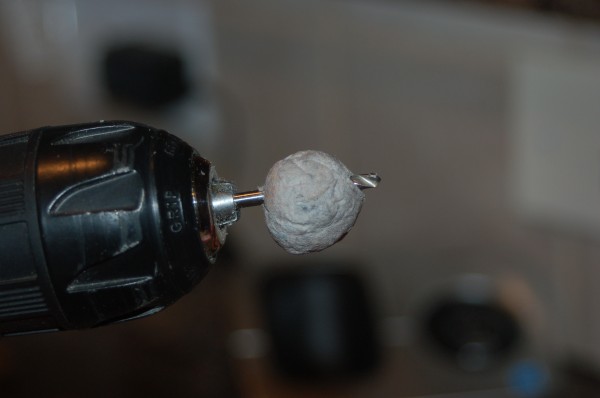
Step 7: I used finger nail clippers to trim away the edges created around the drilled hole. You can sand the beads to make them smoother, but I didn’t.
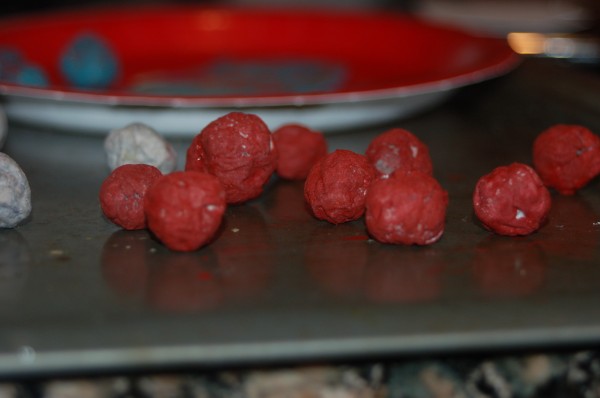
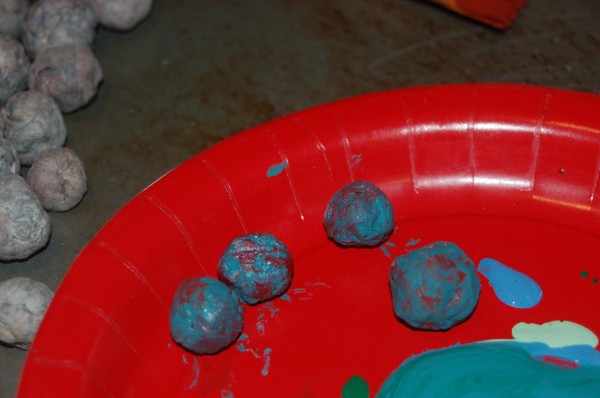
Step 8: Paint your beads. I love the way these beads turned out with marble-effect. But I couldn’t quite master it. I tried a lot of different colors, using a sponge brush.
Step 9: Once your beads are dry, (you may have to poke a safety pin thru to unclog the hole) they are ready to be strung. I used an old ball chain necklace I had for one and heaving fishing line for another.
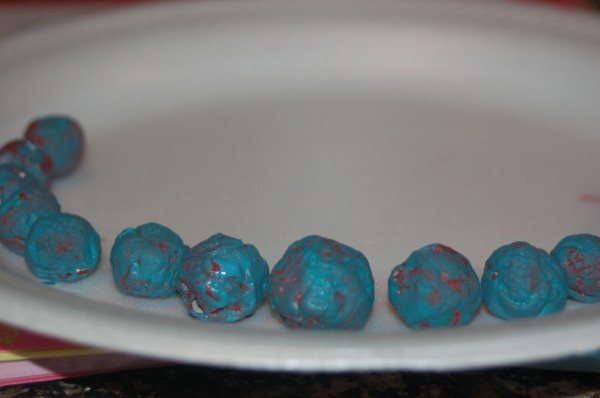
Step 10: Once the beads are strung, hold one end and dip the entire strand in a can of clear varnish. This final step seals the paper-mache like beads and gives them the pretty shiny-look. I used heavy duct tape to hold the strand on my kitchen cabinet and let a paper plate catch the excess varnish.
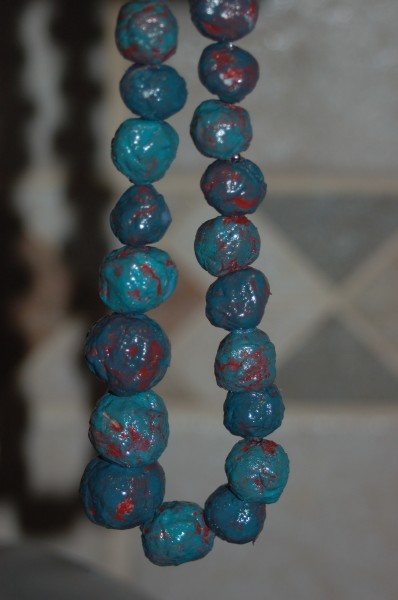
Once they dry, they are ready to wear!
